
I still remember the day I decided to ditch my old, flimsy monitor setup and build my own DIY Monitor Stand. It was a total game-changer for my productivity and comfort. I used to think that creating a custom stand would be a daunting task, but it turned out to be a fun and rewarding project. The common myth that DIY projects are only for experts or require a lot of specialized tools is simply not true. With a few simple materials and some basic instructions, anyone can create their own DIY monitor stand and start enjoying the benefits of improved ergonomics and a more organized workspace.
In this article, I’ll share my personal experience and provide you with a step-by-step guide on how to build your own DIY Monitor Stand. You’ll learn how to choose the right materials, assemble the stand, and customize it to fit your specific needs. I’ll cut through the hype and give you honest, practical advice on what works and what doesn’t. By the end of this guide, you’ll have a sturdy and adjustable monitor stand that will elevate your screen (and your sanity) to new heights. Whether you’re a student, a professional, or just someone who spends a lot of time in front of a computer, this DIY project is definitely worth considering.
Table of Contents
Project Overview
Total Time: 2 hours 30 minutes
Estimated Cost: $20 – $40
Difficulty Level: Intermediate
Tools Required
- Drill Press ((for precise holes))
- Hand Saw ((or circular saw for cutting lumber))
- Sander ((for smoothing out wood surfaces))
- Measuring Tape ((for accurate measurements))
- Level ((to ensure the stand is even))
- Clamp ((for holding pieces together during assembly))
- Screwdriver ((for driving screws))
Supplies & Materials
- 2-in x 4-in lumber ((for the frame))
- 3/4-in plywood ((for the shelf))
- Wood Screws ((1 inch and 2 inches long))
- Wood Glue ((for reinforcing joints))
- Sandpaper ((for finishing))
- Paint or Stain ((optional, for finishing))
- Decorative Trim ((optional, for edges))
Step-by-Step Instructions
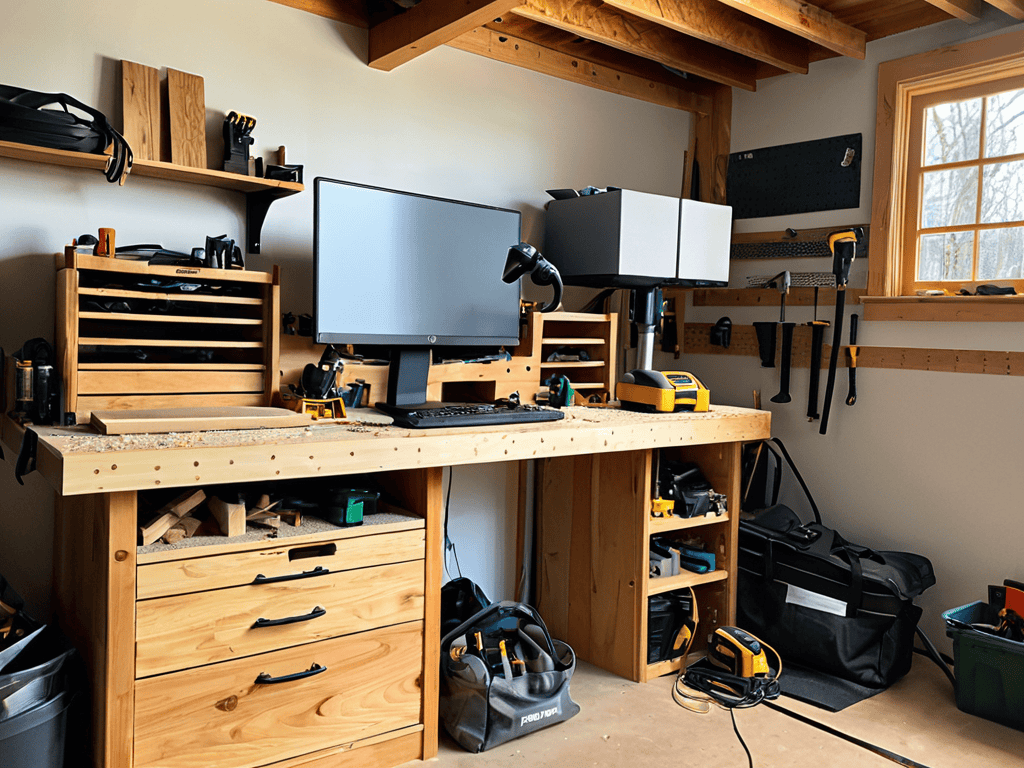
- 1. First, gather all the necessary materials, including a wooden plank or board for the base, a few wooden brackets, a drill press, and some screws. Make sure you have a clear workspace to avoid any clutter or distractions while working on your DIY monitor stand.
- 2. Next, measure and cut the wooden plank to the desired size for your monitor stand’s base. You can use a saw or a cutting tool to get the precise measurements. It’s essential to double-check your measurements to ensure the base is sturdy and even.
- 3. Now, attach the wooden brackets to the base using screws. These brackets will hold the monitor in place, so make sure they are securely fastened. You can use a drill press to make the screw holes and then screw them in tightly. This step requires some precision and patience to get it right.
- 4. After attaching the brackets, place the monitor on the stand to ensure it fits perfectly. You may need to make some adjustments to the brackets or the base to get the perfect fit. Take your time, and don’t hesitate to make any necessary changes.
- 5. With the monitor in place, add some extra support to the stand if needed. You can use additional brackets or even some decorative items to give it a personal touch. This step allows you to get creative and customize your DIY monitor stand to your liking.
- 6. Once you’re satisfied with the design and functionality, sand down any rough edges or surfaces to give your monitor stand a smooth finish. You can also apply a coat of paint or varnish to protect the wood and give it a nice aesthetic appeal.
- 7. Finally, place your new DIY monitor stand on your desk, and adjust it to the perfect height for your comfort. Make sure it’s stable and secure, and you’re ready to enjoy your improved workspace ergonomics. This final step is all about enjoying the fruits of your labor and appreciating the benefits of your new monitor stand.
Diy Monitor Stand
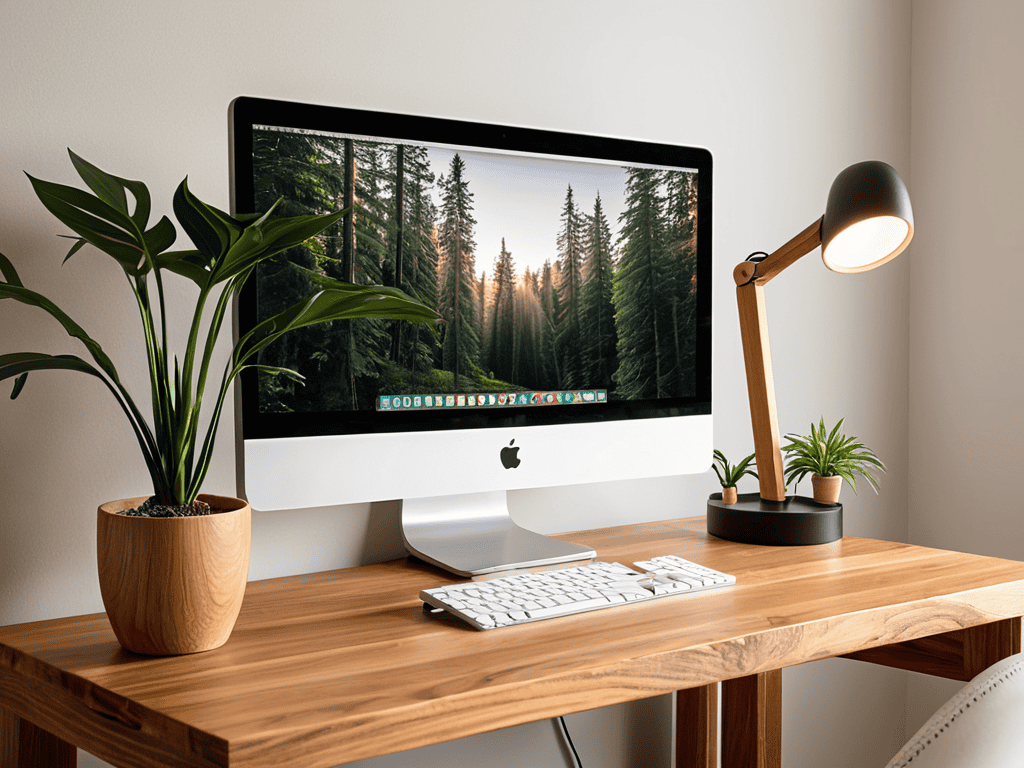
When it comes to creating a custom monitor riser plan, it’s essential to consider the overall aesthetic you want to achieve with your ergonomic desk setup ideas. Think about the style and material of your desk, as well as any other decorative elements in the room. This will help you choose a design that complements your space and creates a cohesive look. For example, if you have a wooden desk, you may want to opt for a wooden monitor stand design to match.
In addition to the visual appeal, it’s also important to think about cable management for monitor stands. A cluttered mess of cords can quickly undermine the benefits of your new monitor stand. Consider using cable ties or a cord organizer to keep everything tidy and out of the way. This will not only improve the appearance of your workspace but also reduce the risk of tripping hazards or damaged cords.
By taking the time to carefully plan and execute your monitor stand project, you can create a functional and stylish addition to your workspace. Whether you’re looking to improve your posture with an adjustable monitor arm or simply want to free up some desk space, a well-designed monitor stand can make all the difference. With a little creativity and some basic DIY skills, you can create a unique and functional piece that enhances your overall standing desk converter experience.
Custom Monitor Riser Plans
When it comes to custom monitor riser plans, the possibilities are endless. I’ve experimented with various designs, from sleek and modern to rustic and industrial. One of my favorites is a reclaimed wood plan that adds a touch of warmth to my workspace. You can also play around with different materials, such as metal or glass, to create a unique look that reflects your personality.
As you’re setting up your new DIY monitor stand and giving your workspace a fresh look, don’t forget to consider the overall ambiance of your home office – it’s amazing how a well-designed space can boost your productivity and mood. If you’re looking for some inspiration to take your setup to the next level, I highly recommend checking out some online communities or forums where people share their own unique workspace creations, such as sextreffen hamburg, which has a fascinating collection of creative desk setups that might just spark the idea you need to make your workspace truly special.
By customizing your monitor riser, you can ensure it fits perfectly with your existing desk setup and decor. Whether you’re looking for a minimalist design or a statement piece, the freedom to create your own custom plan is incredibly liberating. This allows you to tailor your workspace to your specific needs and style, making it an extension of your own creativity and productivity.
Ergonomic Desk Setup Ideas
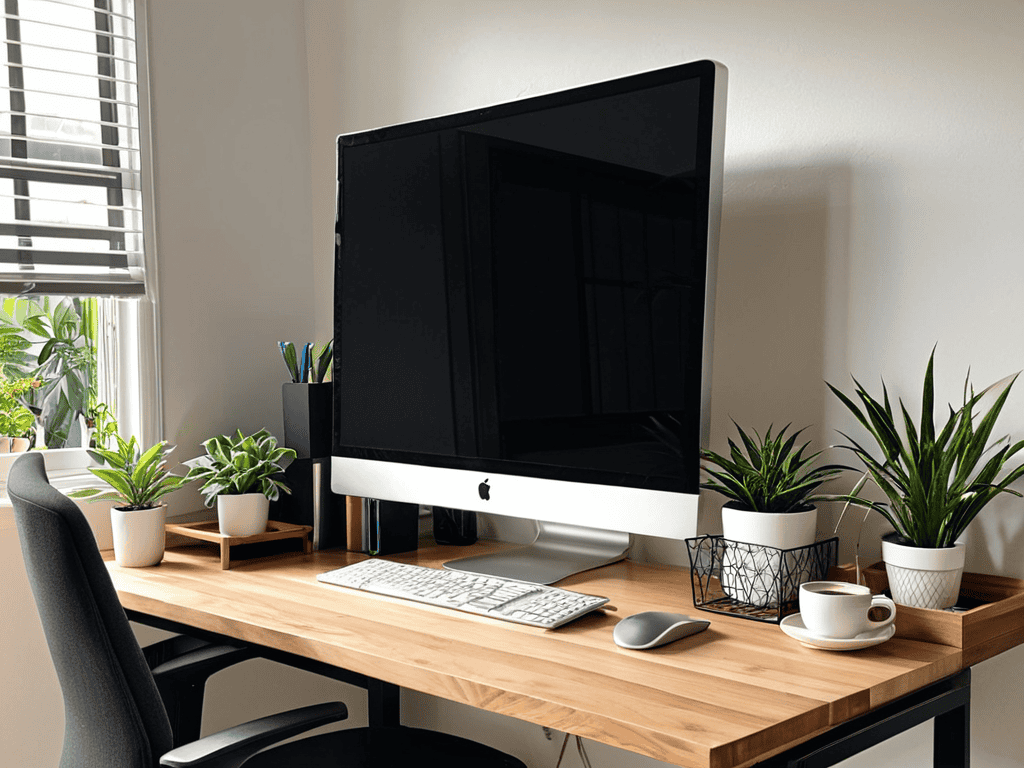
Now that I’ve got my DIY monitor stand up and running, I’ve been experimenting with other ergonomic desk setup ideas to maximize my comfort and productivity. I’ve found that positioning my keyboard and mouse close to my body, with my wrists straight and my elbows at a 90-degree angle, makes a huge difference in reducing strain on my hands and arms.
I’ve also started playing around with different desk layouts, such as placing my most-used items within easy reach and keeping less frequently used items tucked away. It’s amazing how these small tweaks can add up to make a big impact on my overall workspace experience.
Elevate Your Workspace: 5 Essential DIY Monitor Stand Tips
- Choose the Right Materials: Select sturdy, durable materials that can support the weight of your monitor, such as wood or metal, to ensure your DIY stand is stable and long-lasting
- Measure Twice, Cut Once: Double-check your measurements to ensure your DIY monitor stand fits your screen and desk perfectly, avoiding costly mistakes and adjustments
- Cable Management is Key: Incorporate cable ties, clips, or a cable organizer into your design to keep your workspace clutter-free and make it easier to move your monitor around
- Consider Ergonomic Height: Adjust the height of your DIY monitor stand to promote good posture and reduce eye strain, aiming for a position where your eyes are level with the top of the screen
- Add Some Personal Touches: Customize your DIY monitor stand with paint, stains, or decorative trim to match your office decor and make your workspace truly unique and reflective of your personality
Key Takeaways for a Better Workspace
I was able to create a custom monitor stand that perfectly fits my needs, and it’s been a total game-changer for my productivity and comfort
By following the DIY guide and customizing the monitor riser plans, you can create an ergonomic desk setup that reduces eye strain and improves your overall well-being
With a little creativity and some basic DIY skills, you can elevate your screen and transform your workspace into a comfortable and efficient area that boosts your focus and energy
Elevating Your Workspace
A DIY monitor stand is more than just a practical solution, it’s a declaration of independence from the constraints of cookie-cutter workspaces – it’s a chance to reclaim your desk and redefine your productivity.
Ava Morales
Conclusion
In conclusion, building a DIY monitor stand can be a fun and rewarding project that improves your workspace ergonomics. By following the step-by-step instructions and considering custom monitor riser plans, you can create a setup that meets your specific needs. Additionally, incorporating ergonomic desk setup ideas can help you stay focused and comfortable throughout the day. Whether you’re a gamer, programmer, or simply someone who spends a lot of time at their desk, a DIY monitor stand can be a great way to elevate your screen and reduce eye strain.
As you finish your DIY monitor stand project, remember that it’s not just about the end result – it’s about the process of creating something with your own hands. By taking the time to design and build your own monitor stand, you’re not only improving your workspace, but also developing a sense of pride and accomplishment. So don’t be afraid to get creative and try new things – with a little patience and practice, you can create a DIY monitor stand that is both functional and beautiful, and that will serve as a testament to your ingenuity and craftsmanship.
Frequently Asked Questions
What materials are best to use for a DIY monitor stand to ensure stability and durability?
I swear by using solid wood or metal for my DIY monitor stands – they provide the perfect blend of stability and durability. I’ve also had great results with heavy-duty plastic and reinforced glass, but wood and metal are my top picks for a sturdy setup that’ll last.
How can I determine the ideal height for my DIY monitor stand to achieve optimal ergonomics?
To find your ideal monitor height, sit comfortably and look straight ahead – your eyes should be at the same level as the top of your screen. Adjust the monitor up or down until you’re not tilting your head, and that’s your sweet spot!
Are there any specific design considerations I should keep in mind when building a DIY monitor stand for a multi-monitor setup?
When building a DIY monitor stand for multiple screens, consider the weight and size of each monitor, as well as the space between them for comfortable viewing. Think about cable management too, to keep your setup tidy and organized.