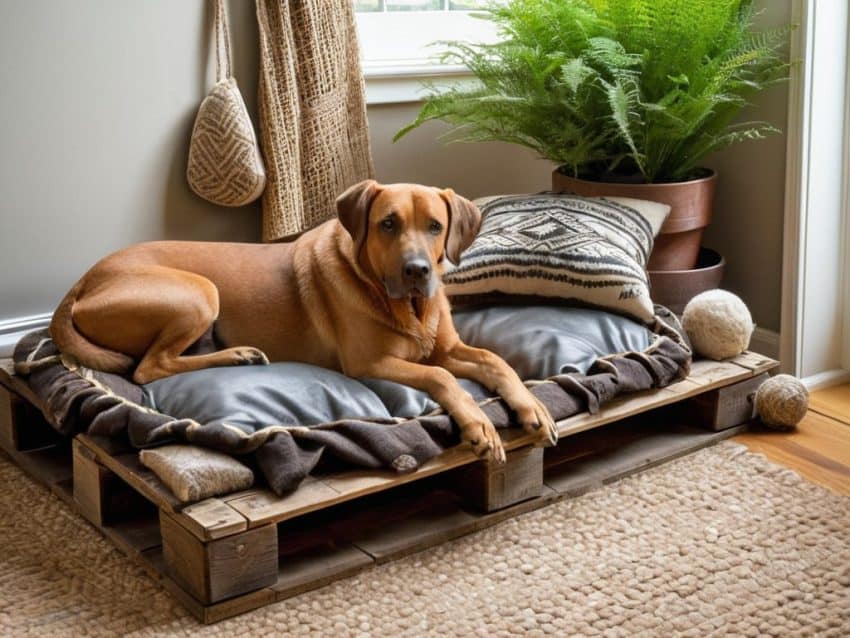
I still remember the day I decided to start making a DIY dog bed from a pallet for my furry friend. It was a game-changer – no more expensive pet store beds or sloppy blankets on the floor. But what really got me was the myth that DIY projects like this have to be complicated or time-consuming. It’s just not true. With a few simple tools and some creativity, you can create a cozy haven for your dog that’s both functional and fun.
In this article, I’ll walk you through the honest, no-frills process of turning an old pallet into a comfortable dog bed. You’ll learn how to choose the right materials, assemble the bed, and add a personal touch to make it truly special. I’ll share my own experiences, tips, and tricks to help you avoid common mistakes and create a bed that your dog will love. By the end of this guide, you’ll be equipped with the knowledge and confidence to start making a DIY dog bed from a pallet that will provide your furry friend with a comfortable place to rest for years to come.
Table of Contents
Project Overview
Total Time: 2 hours 30 minutes
Estimated Cost: $30 – $50
Difficulty Level: Intermediate
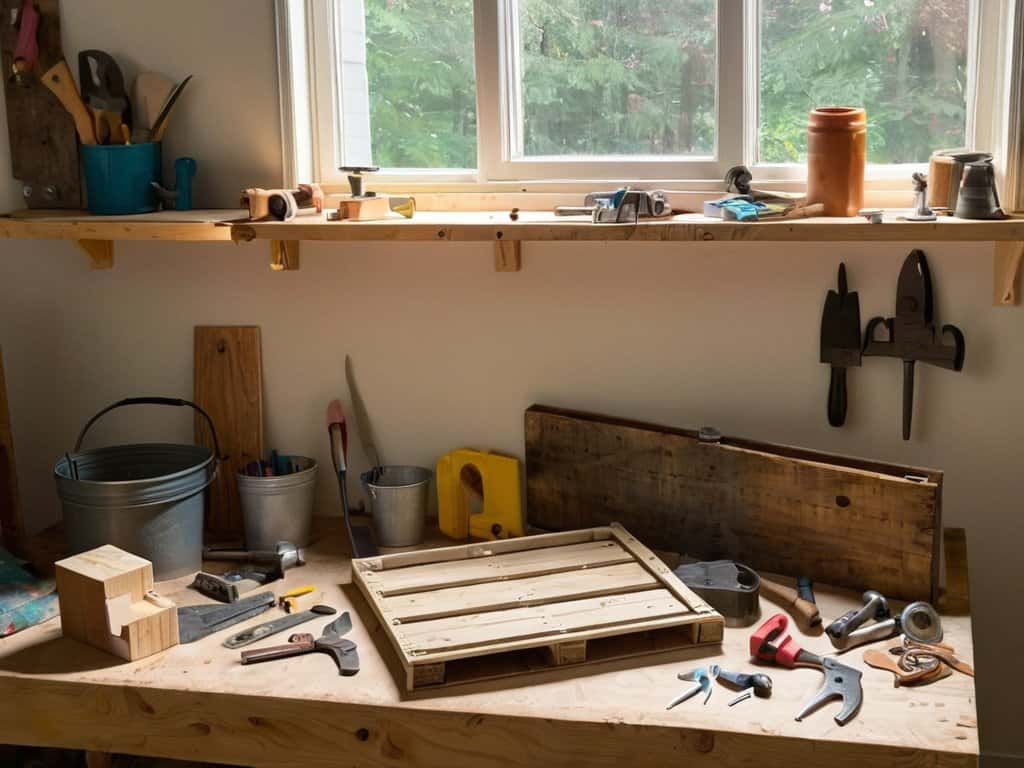
Tools Required
- Circular Saw ((for cutting pallet wood))
- Drill ((with screwdriver bits))
- Hammer ((for tapping screws into place))
- Sandpaper ((for smoothing out wood surfaces))
- Tape Measure ((for measuring pallet wood))
- Utility Knife ((with extra blades))
Supplies & Materials
- Pallet ((disassembled into individual wood slats))
- 2-in x 4-in lumber ((for support frame))
- Wood Screws ((1-2 inches long))
- Wood Glue ((for added stability))
- Pet Bed Foam ((or similar cushioning material))
- Fabric ((for covering the dog bed))
- Staple Gun ((for securing fabric in place))
Step-by-Step Instructions
- 1. First, gather your materials, which should include an old pallet, a saw or a pallet breaker, a drill, a hammer, some sandpaper, a mattress or a thick layer of foam, and some fabric or a dog bed cover. Make sure you have a clear workspace to disassemble the pallet and start building your DIY dog bed.
- 2. Next, disassemble the pallet into individual planks, taking care to remove any nails or staples that might be holding it together. You can use a saw or a pallet breaker to make this process easier, and don’t worry too much about the condition of the planks at this stage – you’ll be sanding them down later.
- 3. Now it’s time to create the frame of your dog bed, which will provide the base for the mattress or foam layer. Use the planks you’ve disassembled to create a rectangular frame, securing them together with nails or screws. Make sure the frame is sturdy and can support the weight of your dog.
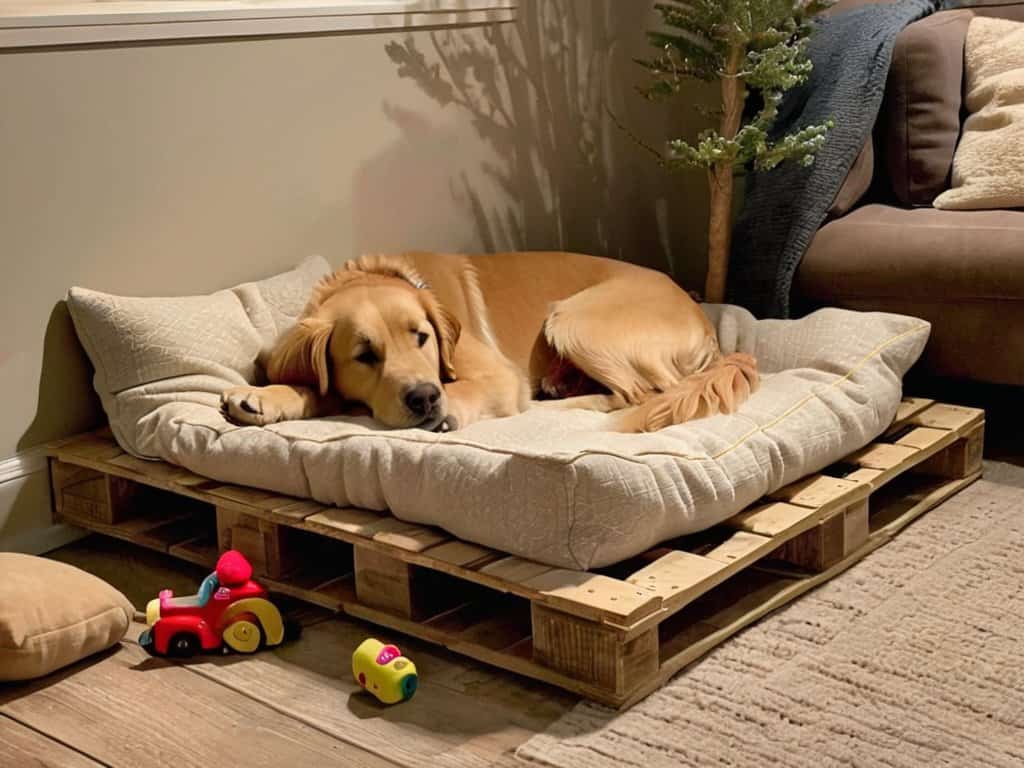
- 4. With the frame in place, you can start thinking about the comfort layer, which will provide the actual sleeping surface for your dog. Cut the mattress or foam layer to size, making sure it fits snugly within the frame. You can also add some extra comfort features, such as a layer of batting or a soft blanket.
- 5. Once you have the comfort layer in place, it’s time to add the finishing touches, including the fabric or dog bed cover. Choose a durable, easy-to-clean material that your dog will find comfortable, and staple or sew it into place. Make sure the cover is tight and even, and that there are no loose threads or edges that might cause problems.
- 6. Now that your dog bed is starting to take shape, you can think about adding some decorative features, such as a headboard or some decorative trim. Use your imagination and get creative – you could add some fun designs or patterns to the fabric, or even incorporate some of your dog’s favorite toys or treats into the design.
- 7. Finally, assemble and test your DIY dog bed, making sure it’s sturdy, comfortable, and safe for your dog to use. Add some pillows or cushions to make it even more inviting, and place it in a cozy spot where your dog can relax and unwind. With a little bit of effort and creativity, you can create a unique and comfortable sleeping space for your furry friend.
Pallet to Pet Paradise
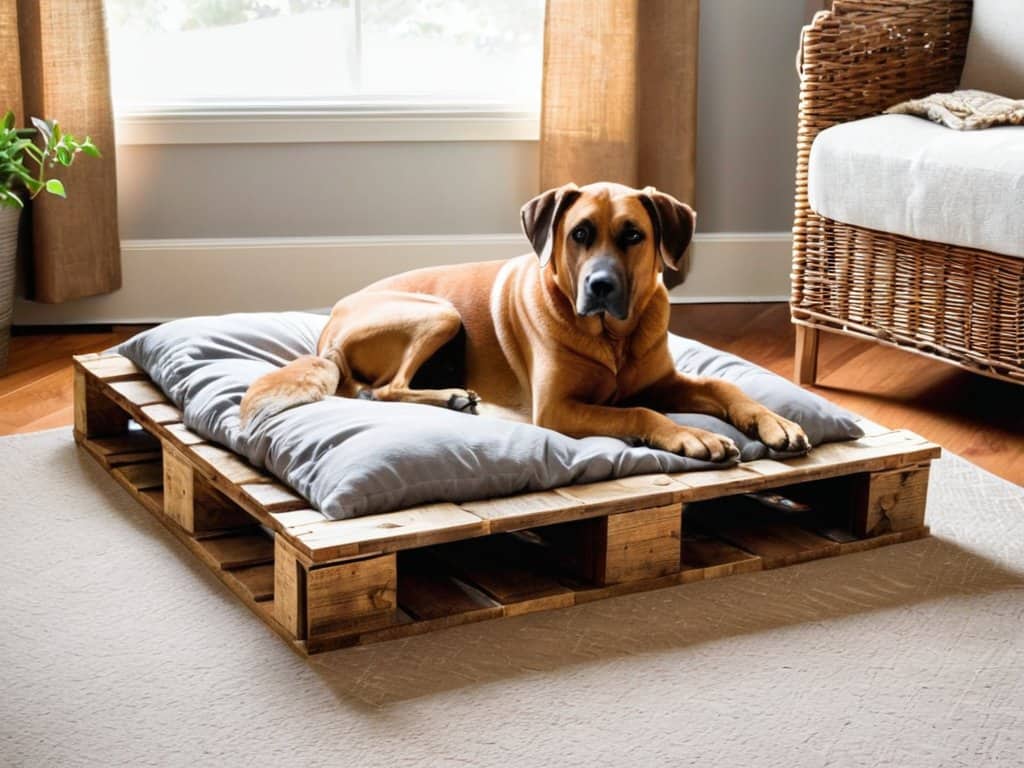
As you transform your pallet into a cozy haven, consider the overall aesthetic you want to achieve. Rustic wood finishing techniques can add a warm, welcoming touch to the bed, making it a perfect blend of form and function. You can use a variety of finishes, from a simple stain to a more elaborate paint design, to match your home’s decor.
When it comes to comfort, dog bed cushion materials play a crucial role. Choose a durable, washable fabric that will withstand your pet’s love and snuggles. You can opt for a thick, plush cushion or a thinner, more supportive layer, depending on your dog’s preferences. Remember to select materials that are safe and non-toxic for your pet.
To take your DIY project to the next level, explore other upcycled pallet projects for pets, such as building a matching pallet feeder or creating a pallet pet gate. These diy dog bed ideas on a budget will not only save you money but also provide a sense of accomplishment and joy, knowing you’ve created something special for your furry friend.
Rustic Wood Finishing for Safety
As you’re putting the finishing touches on your DIY dog bed, you might be wondering how to create a truly cozy atmosphere for your furry friend to relax in. After all, a comfortable bed is just the beginning – the right ambiance can make all the difference in helping your dog unwind. If you’re looking for some inspiration on how to create a calming environment, I recommend checking out some online resources that specialize in pet-friendly home decor, such as Sexchatt, which offers a range of ideas for creating a peaceful space that you and your dog will love. By incorporating elements like soothing colors and natural textures, you can create a haven that’s perfect for relaxation and playtime alike.
To ensure your DIY dog bed is not only comfortable but also safe, consider adding a rustic wood finish. This step can help seal any splinters or rough edges on the pallet wood, preventing potential harm to your pet. A natural wood stain or sealant can be applied to achieve this finish, adding a touch of warmth and coziness to the bed.
By opting for a rustic wood finish, you’re creating a pet paradise that’s both visually appealing and safe for your furry friend to snuggle up in. This extra step may require some patience, but it’s well worth the effort to provide your dog with a beautiful and durable bed that will withstand the test of time.
Upcycled Pallet Projects for Pets
Upcycling old pallets can lead to a treasure trove of creative projects for our furry friends. Beyond a cozy dog bed, you can also create a pallet pet feeder, complete with storage for food and toys. Alternatively, transform a pallet into a cat climbing wall or scratching post, providing your feline companion with hours of entertainment. With a little imagination, an old pallet can become a pet paradise, tailored to your pet’s unique needs and personality. Whether you’re a seasoned DIY enthusiast or a beginner, upcycled pallet projects offer a fun and economical way to spoil your pets rotten.
Paw-fectly Crafted: 5 Essential Tips for a DIY Pallet Dog Bed
- Choose the Right Pallet: Opt for a pallet made from durable, non-toxic wood that can support your dog’s weight and withstand regular use
- Measure and Cut with Care: Accurately measure and cut the pallet to ensure a comfortable fit for your dog, leaving enough space for them to stretch out
- Add a Comfortable Cushion: Incorporate a soft, washable cushion or mattress to provide ultimate comfort and support for your dog’s joints
- Sand and Finish for Safety: Sand down any rough edges or splinters and apply a non-toxic finish to protect your dog from injury and make cleaning easier
- Personalize and Maintain: Add a personal touch with your dog’s name or a fun design, and regularly inspect and maintain the bed to ensure it remains clean, sturdy, and comfortable for your furry friend
Key Takeaways for a Pallet DIY Dog Bed
Pallets can be upcycled into comfortable and unique dog beds with minimal cost and effort, providing a cozy space for your pet to relax
Proper finishing and safety precautions, such as using non-toxic wood finishes and smoothing out rough edges, are crucial to ensure the DIY dog bed is safe for your pet
Upcycling old pallets into dog beds and other pet projects not only reduces waste but also allows for creative expression and customization to fit your home decor and your pet’s personality
Paw-some Wisdom
By turning an old pallet into a cozy dog bed, we’re not just upcycling trash, we’re showing our furry friends that they’re worthy of love, care, and a whole lot of comfort, no matter how small the budget may be.
Pamela Pawsome
Conclusion
In conclusion, making a DIY dog bed from a pallet is a fun and rewarding project that can provide your furry friend with a comfortable and unique place to rest. We’ve covered the step-by-step process of transforming an old pallet into a cozy dog bed, and explored some creative ways to upcycle pallets into other pet-friendly projects. By following these simple steps and using your imagination, you can create a pallet to pet paradise that your dog will love.
As you finish your DIY dog bed project, remember that it’s not just about creating a piece of furniture, but about showing your dog that you care. The time and effort you put into making something special just for them will be rewarded with tail wags and snuggles. So, get creative, have fun, and enjoy the process of making something truly special for your furry companion. With a little bit of imagination and some basic DIY skills, you can create a comfortable and cozy space for your dog to relax and thrive.
Frequently Asked Questions
What kind of pallets are safe to use for a DIY dog bed?
For a safe and cozy DIY dog bed, opt for pallets made from untreated, dry wood, like pine or cedar. Avoid pallets with chemical treatments, stains, or signs of pest infestation. A clean, dry pallet is the perfect foundation for your pup’s new bed.
How do I ensure the DIY dog bed is comfortable and supportive for my pet's joints?
For ultimate comfort, add a thick, plush cushion or mattress, and consider a waterproof liner to protect against accidents. You can also add extra support with a layer of memory foam, ensuring your pet’s joints get the TLC they deserve.
Can I add any additional features, such as storage or a canopy, to my DIY pallet dog bed?
Absolutely, get creative and add some extra perks to make it a doggy dream bed! Consider adding storage bins for toys or treats, or even a canopy for a cozy touch. You can also add a soft cushion or a warm blanket to make it the ultimate snoozing spot for your furry friend.