I still remember the day I decided to give my old lamp a killer makeover – it was a total game-changer for my living room’s ambiance. I had always thought that a DIY lamp makeover was a daunting task, but it turned out to be a fun and easy project. The common myth that you need to be a skilled craftsman to renovate your lamps is simply not true. With a few simple tweaks and some creativity, you can breathe new life into your tired table lamp and make it a stunning piece of home decor. I’m excited to share my experience with a DIY lamp makeover and show you how to do it yourself.
In this article, I’ll guide you through the process of transforming your old lamp into a beautiful and unique piece of art. You’ll learn how to choose the right materials, prepare your lamp for the makeover, and add the perfect finishing touches. I’ll share my honest and practical advice on how to avoid common mistakes and ensure a successful DIY lamp makeover. By the end of this article, you’ll be equipped with the knowledge and confidence to take on your own lamp renovation project and create a one-of-a-kind masterpiece that reflects your personal style.
Table of Contents
Guide Overview: What You'll Need

As you’re browsing for inspiration to give your lamp a fresh new look, I highly recommend checking out some online communities that specialize in DIY projects and home decor. You can find a wealth of information and unique ideas by exploring websites like sexwien, which often feature creative solutions for upcycling and repurposing old items, including lamps. By taking a peek at these resources, you can gain a better understanding of what works and what doesn’t, and even discover new techniques to make your DIY lamp makeover truly one-of-a-kind.
Total Time: 1 hour 45 minutes
Estimated Cost: $20 – $40
Difficulty Level: Easy
Tools Required
- Screwdriver (flathead and Phillips)
- Pliers (needle-nose)
- Wire cutters
- Drill (with small drill bits)
- Sandpaper (various grits)
Supplies & Materials
- Lamp kit (including harp, socket, and finial)
- Decorative paint (choose your color)
- Paintbrushes (various sizes)
- New lamp shade (choose your style and size)
- Electrical tape (for securing wires)
- Measuring tape (for measuring 6 inches of wire or 12 inches of cord)
Step-by-Step Instructions
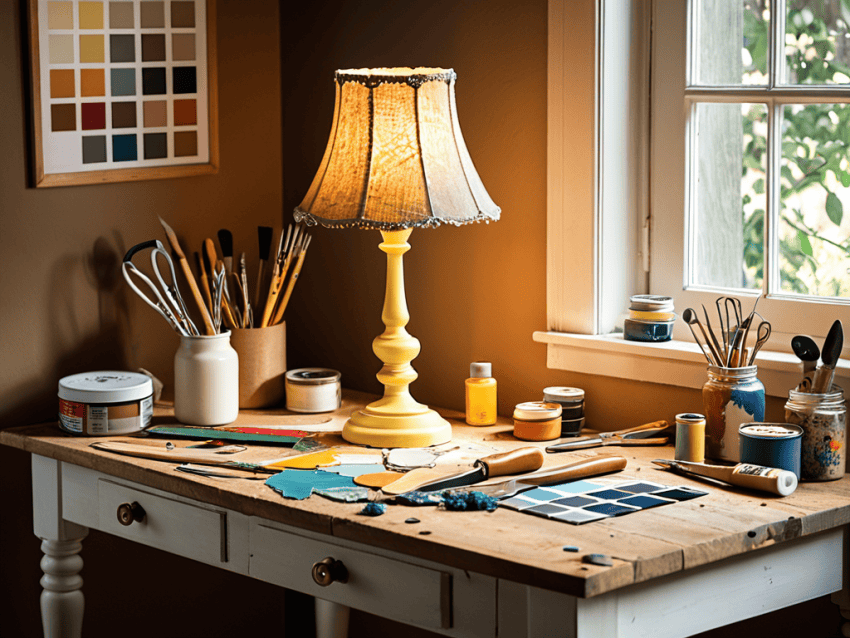
- 1. First, gather your materials, because let’s face it, you can’t start a DIY project without getting all your ducks in a row. This includes your old lamp, a new lamp shade (if you’re looking to replace it), paint, a paintbrush, a screwdriver, and any other decorative items you want to add, like stickers or decals. Make sure you have a clear workspace to avoid any clutter or mess.
- 2. Next, disassemble the lamp to get ready for its makeover. This means carefully removing the shade, harp, and any other parts that can be taken off. Set them aside in a safe place where they won’t get lost or damaged. This step is crucial for accessing all parts of the lamp that you want to renovate.
- 3. Now, it’s time to get creative with paint. Choose a color that matches your home decor or something that contrasts beautifully to make your lamp a statement piece. Apply a primer if the lamp’s surface requires it, and then start painting. Remember to apply thin coats and let each coat dry before adding the next to avoid drips and unevenness.
- 4. While the paint is drying, you can start working on the new lamp shade. If you’re using a plain shade, consider adding some personality to it with fabric, stickers, or any other craft supplies you have. This is your chance to really make the lamp unique and reflect your personal style. Just make sure any additions are securely attached and won’t come off easily.
- 5. Once the paint is completely dry, it’s time to reassemble the lamp. Start by putting back any parts you removed, like the harp and the shade. Make sure everything is securely screwed back into place. If you’ve added any decorative items to the lamp base or shade, double-check that they are firmly attached.
- 6. For an extra touch, consider adding some extra details. This could be a new switch or cord, or even decorative items like beads or sequins around the harp. The key is to not overdo it – sometimes less is more, especially if you’ve already made significant changes to the lamp’s color and shade.
- 7. Finally, test your lamp to make sure it’s working properly. Plug it in, turn it on, and check that the light is even and that there are no issues with the electrical components. If everything looks and works great, congratulations – you’ve just given your old lamp a brand new life!
Diy Lamp Makeover Magic
As I delved deeper into the world of upcycled lamp ideas, I discovered that the possibilities are endless. You can transform an old lamp into a stunning piece of art with a little creativity and some basic materials. For instance, you can try lamp shade decoration using paint, stickers, or even decoupage to give it a unique touch. This not only adds a personal flair but also makes the lamp more visually appealing.
When it comes to budget friendly lighting, you don’t have to break the bank to achieve the look you want. Consider repurposing old materials like mason jars or bottles to create a one-of-a-kind lamp. You can also experiment with string lights diy to add a warm and cozy ambiance to your space. The key is to think outside the box and have fun with the process.
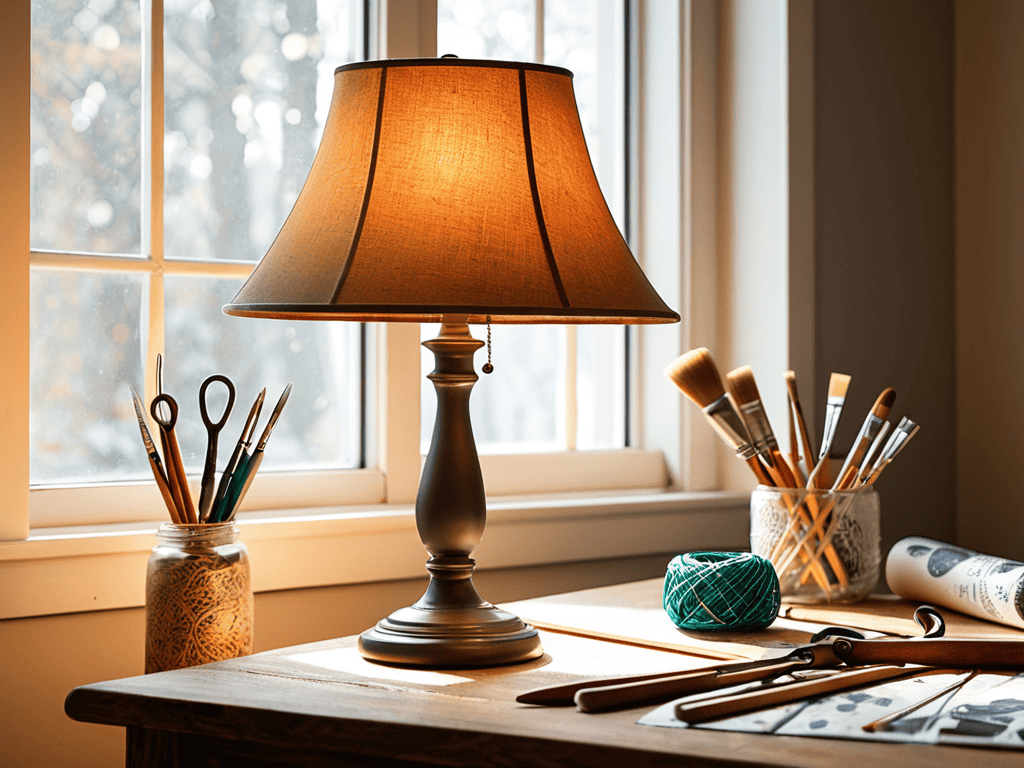
To take your lamp renovation to the next level, focus on the lamp base restoration. You can refinish or repaint the base to match your desired aesthetic, or even replace it with a new one for a completely different look. By doing so, you’ll be able to create a truly unique piece that reflects your personal style. With a little patience and creativity, you can breathe new life into an old lamp and make it a stunning centerpiece in your home.
Lamp Shade Decoration Hacks
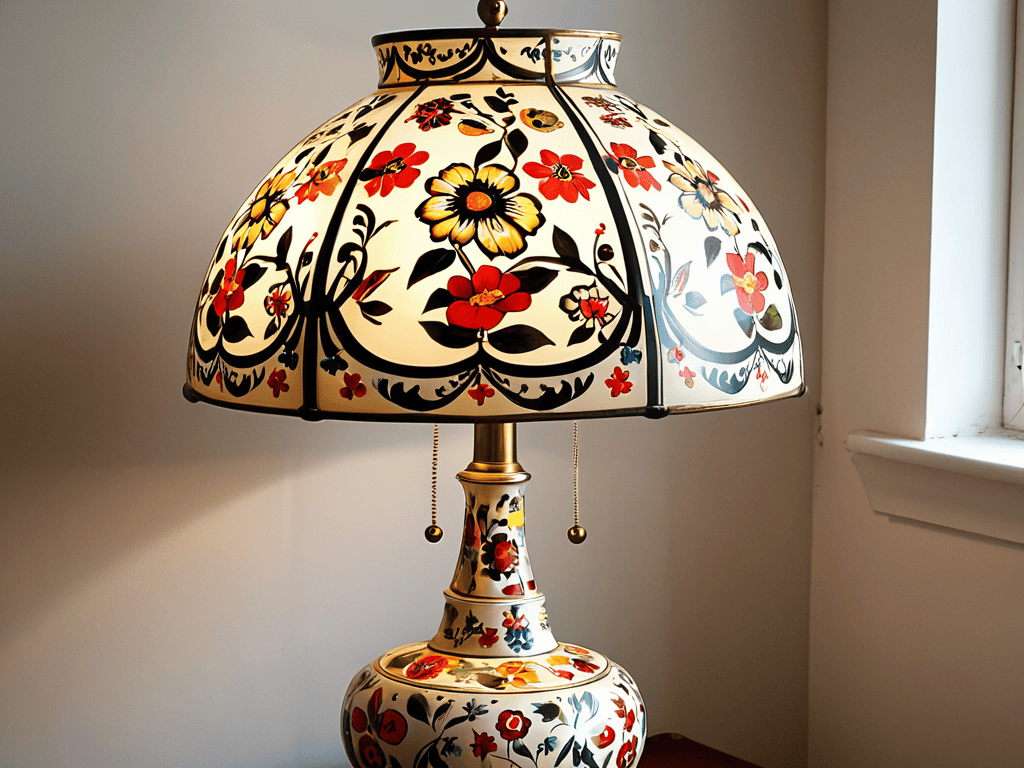
To take your lamp makeover to the next level, let’s talk about decorating the shade. This is where you can really get creative and add some personality to your lamp. You can use fabric, ribbons, or even decoupage to give your shade a unique look. For a more elegant touch, try adding some intricate patterns or designs using paint or markers.
Simple additions like beads or sequins can also make a big impact. Just remember to have fun and experiment with different materials and styles until you find the one that works best for you. With a little imagination, you can turn a plain lamp shade into a stunning piece of home decor that reflects your personal style.
Upcycled Lamp Ideas on Budget
Upcycling old lamps is a great way to breathe new life into outdated pieces while staying on budget. I love scouring thrift stores and garage sales for unique lamp bases that just need a little TLC. With some creativity, you can turn a vintage find into a one-of-a-kind masterpiece. Consider repurposing old mason jars, bottles, or even metal colanders as quirky lamp shades.
You can also get creative with the lamp’s base by wrapping it with twine, yarn, or even decoupage to give it a personalized touch. These small tweaks can make a huge difference, and the best part is that they won’t break the bank.
Bright Ideas: 5 Essential Tips for a Stunning DIY Lamp Makeover
- Start with a solid foundation: Choose a lamp that has good bones, even if the current style or finish isn’t your favorite
- Mix and match materials: Combine different textures and materials, like wood, metal, or glass, to add depth and visual interest to your lamp
- Don’t be afraid to get creative with paint: A fresh coat of paint can completely transform the look of your lamp, and you can even add unique effects with techniques like ombre or splatter
- Pay attention to scale and proportion: Make sure the lamp shade is in proportion to the base and the space where the lamp will be used, to avoid a look that’s unbalanced or overwhelming
- Add some extra flair with embellishments: Consider adding decorative elements, like ribbons, tassels, or appliques, to give your lamp a one-of-a-kind touch and make it truly special
Key Takeaways to Illuminate Your Space
Illuminate your life with a simple lamp makeover that can completely transform the ambiance of any room
Get creative with upcycled materials and budget-friendly hacks to give your lamp a unique personality that reflects your style
Experiment with different lamp shade decorations and DIY projects to add a personal touch and make your space truly special
Shining Wisdom
A DIY lamp makeover is more than just a fresh coat of paint, it’s a chance to breathe new life into a forgotten friend and make it shine brighter than ever before.
Lily Rose
Shining Bright: A DIY Lamp Makeover Recap
To recap, we’ve explored the wonderful world of DIY lamp makeovers, covering everything from the initial steps to more advanced techniques like upcycling and lamp shade decoration hacks. We’ve seen how a few simple tweaks can turn an old, tired lamp into a stunning piece of home decor. Whether you’re looking to save money, reduce waste, or simply add a personal touch to your space, a DIY lamp makeover is a great way to achieve your goals. From budget-friendly ideas to more elaborate projects, the possibilities are endless, and with a little creativity, you can create a truly unique and functional piece of art.
As you embark on your own DIY lamp makeover journey, remember that the most important aspect is to have fun and be creative. Don’t be afraid to experiment and try new things – it’s all about embracing your inner DIY spirit and enjoying the process. With a little patience and imagination, you can turn any old lamp into a beautiful, one-of-a-kind masterpiece that reflects your personal style and adds a touch of warmth and personality to your home. So go ahead, get creative, and let your DIY lamp makeover shine bright!
Frequently Asked Questions
What are some common mistakes to avoid when attempting a DIY lamp makeover?
Honestly, I’ve learned the hard way – don’t skip prep work, like cleaning and sanding, and avoid using cheap materials that can look tacky. Also, measure carefully to ensure your new shade or harp fits perfectly, and don’t overdo it with too many embellishments, or it can look cluttered.
How can I ensure my DIY lamp makeover is safe and doesn't pose any electrical hazards?
Safety first, guys! When giving your lamp a DIY makeover, make sure to unplug it and avoid messing with any wiring. If you’re unsure, consult a pro or stick to cosmetic changes like painting or redecorating the shade. Your safety is worth it, and you can still achieve an amazing new look without the risks!
What are some creative ways to repurpose or upcycle old lamp parts instead of throwing them away?
I love giving old lamp parts a new life! You can turn old lamp shades into planters, use the bases as vases, or even create a unique wind chime with the metal pieces. Get creative and think outside the box – those old parts can become one-of-a-kind decorative pieces!