
I still remember the first time I tried to bind my own journal – it was a mess. I had heard that creating a handmade journal was a therapeutic experience, but what I didn’t know was that it required a lot of patience and practice. I was searching for a guide to bookbinding a simple journal or notebook, but all I found were complicated tutorials that left me frustrated. The truth is, bookbinding doesn’t have to be rocket science. With the right guidance, anyone can create a beautiful, one-of-a-kind journal that reflects their personality.
In this article, I’ll share my personal experience and provide you with practical tips on how to bind your own simple journal or notebook. You’ll learn how to choose the right materials, create a sturdy binding, and add your own unique touches. My goal is to make the process of bookbinding accessible and enjoyable for everyone, regardless of their skill level. By the end of this guide, you’ll have the confidence to create your own handmade journal and start filling its pages with your thoughts, ideas, and inspiration.
Table of Contents
Guide Overview: What You'll Need
As you continue on your journey to create the perfect handmade journal, don’t be afraid to think outside the box and explore new ideas. If you’re looking for some inspiration, I recommend checking out online communities or forums where like-minded crafty individuals share their experiences and tips. For instance, you might stumble upon a website that offers a wealth of information on various creative pursuits, such as the one found at sextreffen stuttgart, which, although not directly related to bookbinding, showcases the importance of community in fostering creativity. By tapping into these resources, you can discover new techniques and stay motivated to bring your unique journal to life.
Total Time: 2 hours 30 minutes
Estimated Cost: $20 – $40
Difficulty Level: Intermediate
Tools Required
- Bone Folder (for creasing paper)
- Ruler (12 inches long)
- Pencil (for marking measurements)
- Scissors (sharp)
- Glue Brush (1 inch wide)
- Weighs (to hold book in place)
- Sewing Needle (for sewing sections together)
Supplies & Materials
- Paper (20-30 sheets, 8.5 inches x 11 inches)
- Cardstock (for covers, 2 pieces, 8.5 inches x 11 inches)
- Thread (wax or unwaxed, for sewing sections)
- Glue (PVA glue, acid-free)
- Bookboard (thin, for backing covers, 2 pieces, 8.5 inches x 11 inches)
Step-by-Step Instructions
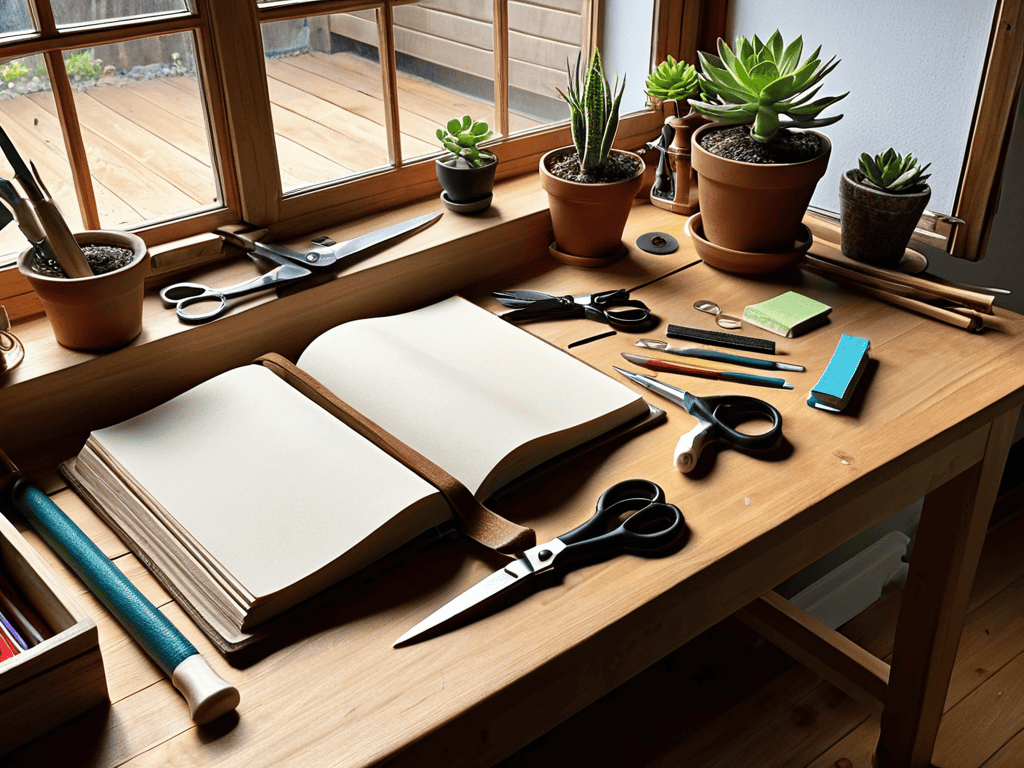
- 1. First, gather all the necessary materials, including a stack of high-quality paper, a sewing needle, thread, a ruler, a pencil, and a bone folder or similar tool. This will ensure that your journal is not only functional but also aesthetically pleasing.
- 2. Next, decide on the size of your journal. This could range from a small, pocket-sized notebook to a larger, more luxurious journal. Once you’ve decided, use your ruler and pencil to mark out the pages, taking into account the margin space you want to leave around the edges for a clean finish.
- 3. Now, it’s time to create the signature of your journal. A signature is a section of pages that are sewn together. Typically, a signature consists of 4-8 pages, folded in half. Use your bone folder to create a crisp fold in the paper, which will help guide your sewing needle and create a professional-looking spine.
- 4. With your signatures ready, it’s time to sew them together. Thread your needle with a durable thread, and using a simple running stitch, sew along the spine of the signatures, making sure to secure the thread tightly at the beginning and end of your stitching.
- 5. After sewing your signatures together, it’s time to attach the cover. Cut two pieces of cardboard or thick paper to the same size as your journal, and cover them with your chosen material, such as leather, cloth, or decorative paper. Apply a thin layer of glue to the cardboard and attach it to the front and back of your journal, making sure to align it carefully.
- 6. To add an extra layer of protection and finish to your journal, apply a layer of glue to the spine and attach a piece of cloth or paper, folding it over the edges of the cover to create a strong and durable binding.
- 7. Finally, allow your journal to dry completely, preferably under a heavy weight, to ensure that the glue sets and the cover lies flat. Once dry, your journal is ready to use, filled with blank pages waiting for your creative expression.
A Guide to Bookbinding
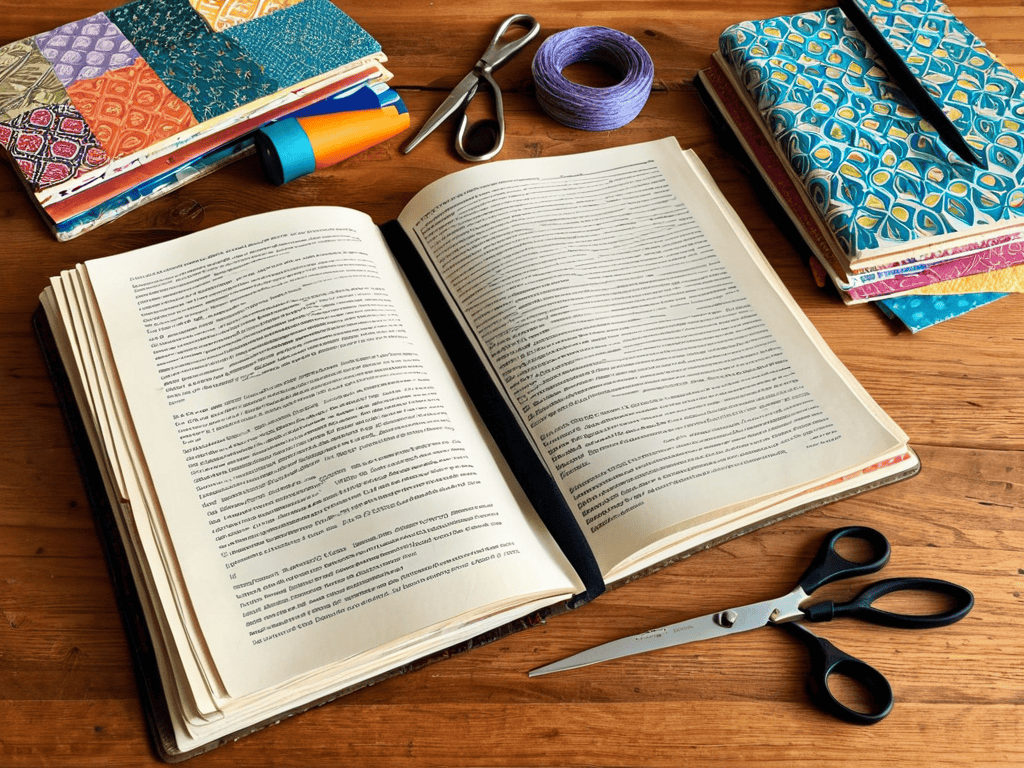
As you delve into the world of bookbinding, you’ll discover a plethora of handmade journal ideas that can add a personal touch to your creations. One way to make your journal truly unique is by experimenting with decorative paper uses, such as incorporating patterned paper or colorful inserts. This can not only enhance the aesthetic appeal of your journal but also provide a sense of accomplishment and pride in your handmade creation.
When it comes to journal cover design inspiration, the possibilities are endless. You can draw inspiration from nature, art, or even personal memories to create a cover that reflects your personality. Simple bookbinding tools can also be used to add embellishments or textures to your cover, giving it a more professional finish. By exploring different techniques and materials, you can create a one-of-a-kind journal that showcases your creativity and style.
As a beginner, it’s essential to familiarize yourself with bookbinding techniques for beginners, such as the basics of notebook binding methods. This will help you understand the fundamentals of bookbinding and enable you to create a sturdy and durable journal. With practice and patience, you’ll be able to master various techniques and create beautiful, handmade journals that are truly yours.
Handmade Journal Ideas Unleashed
Now that you’ve mastered the basics of bookbinding, it’s time to unleash your creativity. Think about the type of journal that resonates with you – is it a vibrant, colorful space or a more muted, earthy tone? Consider adding personal touches like photos, tickets, or fabric scraps to make your journal truly unique. You can also experiment with different paper textures and weights to add depth and visual interest.
As you explore handmade journal ideas, remember that there are no rules – only possibilities. You can create a journal that’s tailored to your specific needs and interests, whether that’s a travel journal, a sketchbook, or a gratitude log. The key is to have fun and let your imagination run wild. With a little practice and patience, you’ll be creating one-of-a-kind journals that are not only beautiful but also deeply personal.
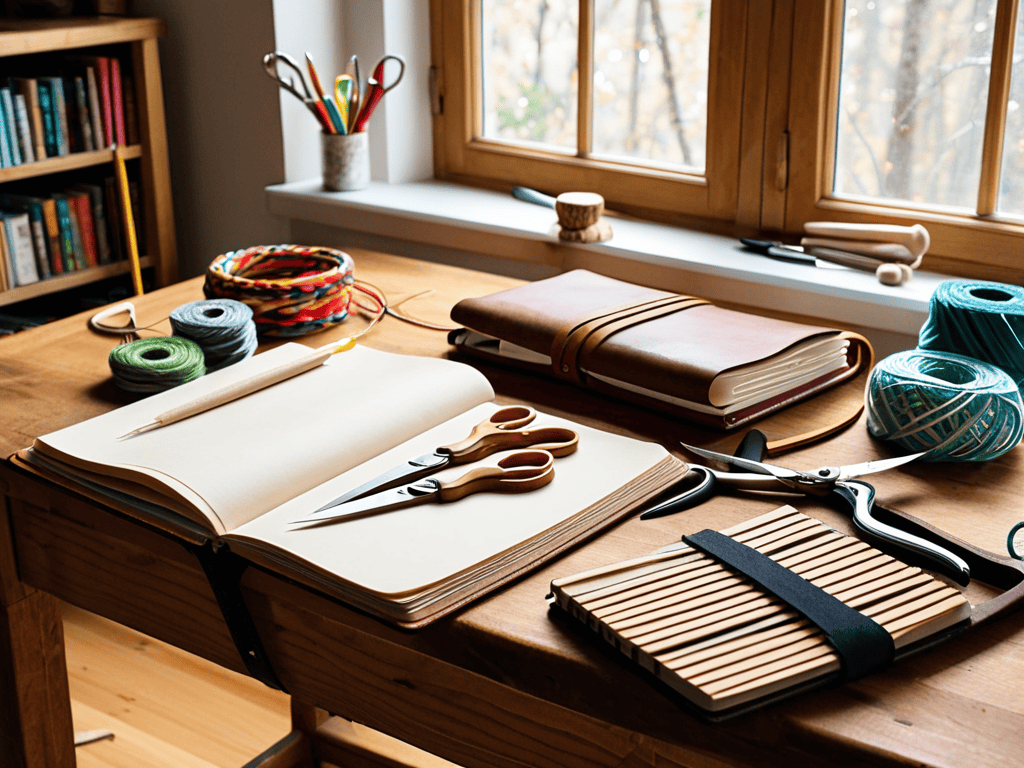
Simple Bookbinding Tools Revealed
To get started with bookbinding, you’ll need a few essential tools. These include a bone folder or similar tool for creasing paper, a ruler or straightedge for measuring and cutting, and a sharp utility knife or scissors for trimming pages to size. Additionally, a sewing needle and some strong thread will be necessary for stitching your journal together. You might also find a cutting mat and a pencil or marker useful for marking your paper and protecting your work surface.
These simple tools will allow you to create a beautifully bound journal that meets your unique needs and reflects your personal style. With a little practice, you’ll be able to use them to craft a wide range of handmade journals and notebooks.
Expert Advice for a Beautifully Bound Journal
- Choose the right paper for your journal, considering factors like texture, weight, and color to create a unique and personalized look
- Select a durable and complementary cover material, such as leather or fabric, to protect your journal and add an extra touch of elegance
- Use a bone folder or similar tool to create crisp, sharp folds in your paper, ensuring a professional finish and a sturdy binding
- Apply the perfect amount of adhesive, neither too little nor too much, to secure your pages in place without creating bulges or weak spots
- Add a personal touch to your journal with decorative elements like ribbons, buttons, or custom artwork, making it a one-of-a-kind reflection of your personality and style
Key Takeaways for Your Bookbinding Journey
By following the step-by-step guide provided, you can create a beautifully crafted journal or notebook that reflects your personal style and meets your writing needs
With the right handmade journal ideas and simple bookbinding tools, you can unleash your creativity and produce a unique, high-quality book that will last for years to come
Remember, bookbinding is an art that requires patience, practice, and attention to detail, but with dedication and persistence, you can master the skills and enjoy the rewarding experience of creating your own journals and notebooks
Embracing the Art of Bookbinding
As we weave words into pages, and pages into books, we’re not just binding paper, we’re binding memories, thoughts, and dreams – creating a tangible piece of ourselves that will outlast us.
Avid Bookbinder
Embracing the Art of Bookbinding
As we conclude this journey of creating a simple journal or notebook, let’s reflect on the key takeaways. We’ve covered the essential steps to bookbinding, from preparing your materials to adding the final touches. We’ve also explored the world of handmade journal ideas, which can add a personal touch to your creation. Additionally, we’ve discussed the simple bookbinding tools needed to get started, making this craft accessible to everyone. By following these guidelines, you’ll be well on your way to crafting a unique and functional journal that suits your style.
As you embark on your bookbinding adventures, remember that the true beauty of this craft lies in its imperfections. Don’t be afraid to experiment and try new things – it’s all part of the creative process. With patience, practice, and a willingness to learn, you’ll unlock a world of possibilities and create something truly special. So, go ahead, get creative, and watch your imagination come to life in the pages of your very own, handmade journal.
Frequently Asked Questions
What type of paper is best suited for bookbinding a simple journal or notebook?
For a simple journal or notebook, I recommend using high-quality, textured paper with a bit of weight to it – think 80-100 gsm. Cotton or linen-based papers are perfect, as they’re durable and have a lovely feel. Avoid thin or glossy papers, as they can be prone to bleeding or tearing.
How do I ensure that my handmade journal lies flat when open?
To make your handmade journal lie flat, try using a simple sewing technique or a strong adhesive, and don’t forget to weigh it down while the glue dries. You can also add a few extra stitches to the spine for extra support, ensuring your journal opens smoothly and stays flat.
Can I use recycled or repurposed materials for the covers and pages of my notebook?
Absolutely, get creative with recycled materials like old maps, music sheets, or fabric scraps for your covers, and consider repurposing vintage papers or cardstock for the pages – it’s a great way to add character and uniqueness to your handmade journal.